 If you have a digital piano that you want to use to its full potential one of the easiest things to learn to do is just to record a simple single track piece. This could be useful if you have a student who benefits from listening to the pieces they are working on, if you want to record a duet part for your student to practice with, or if you want to record accompaniments for instrumental teachers to use.
You’ll need a digital piano with MIDI output and a computer with a USB port and GarageBand. Here’s what to do:
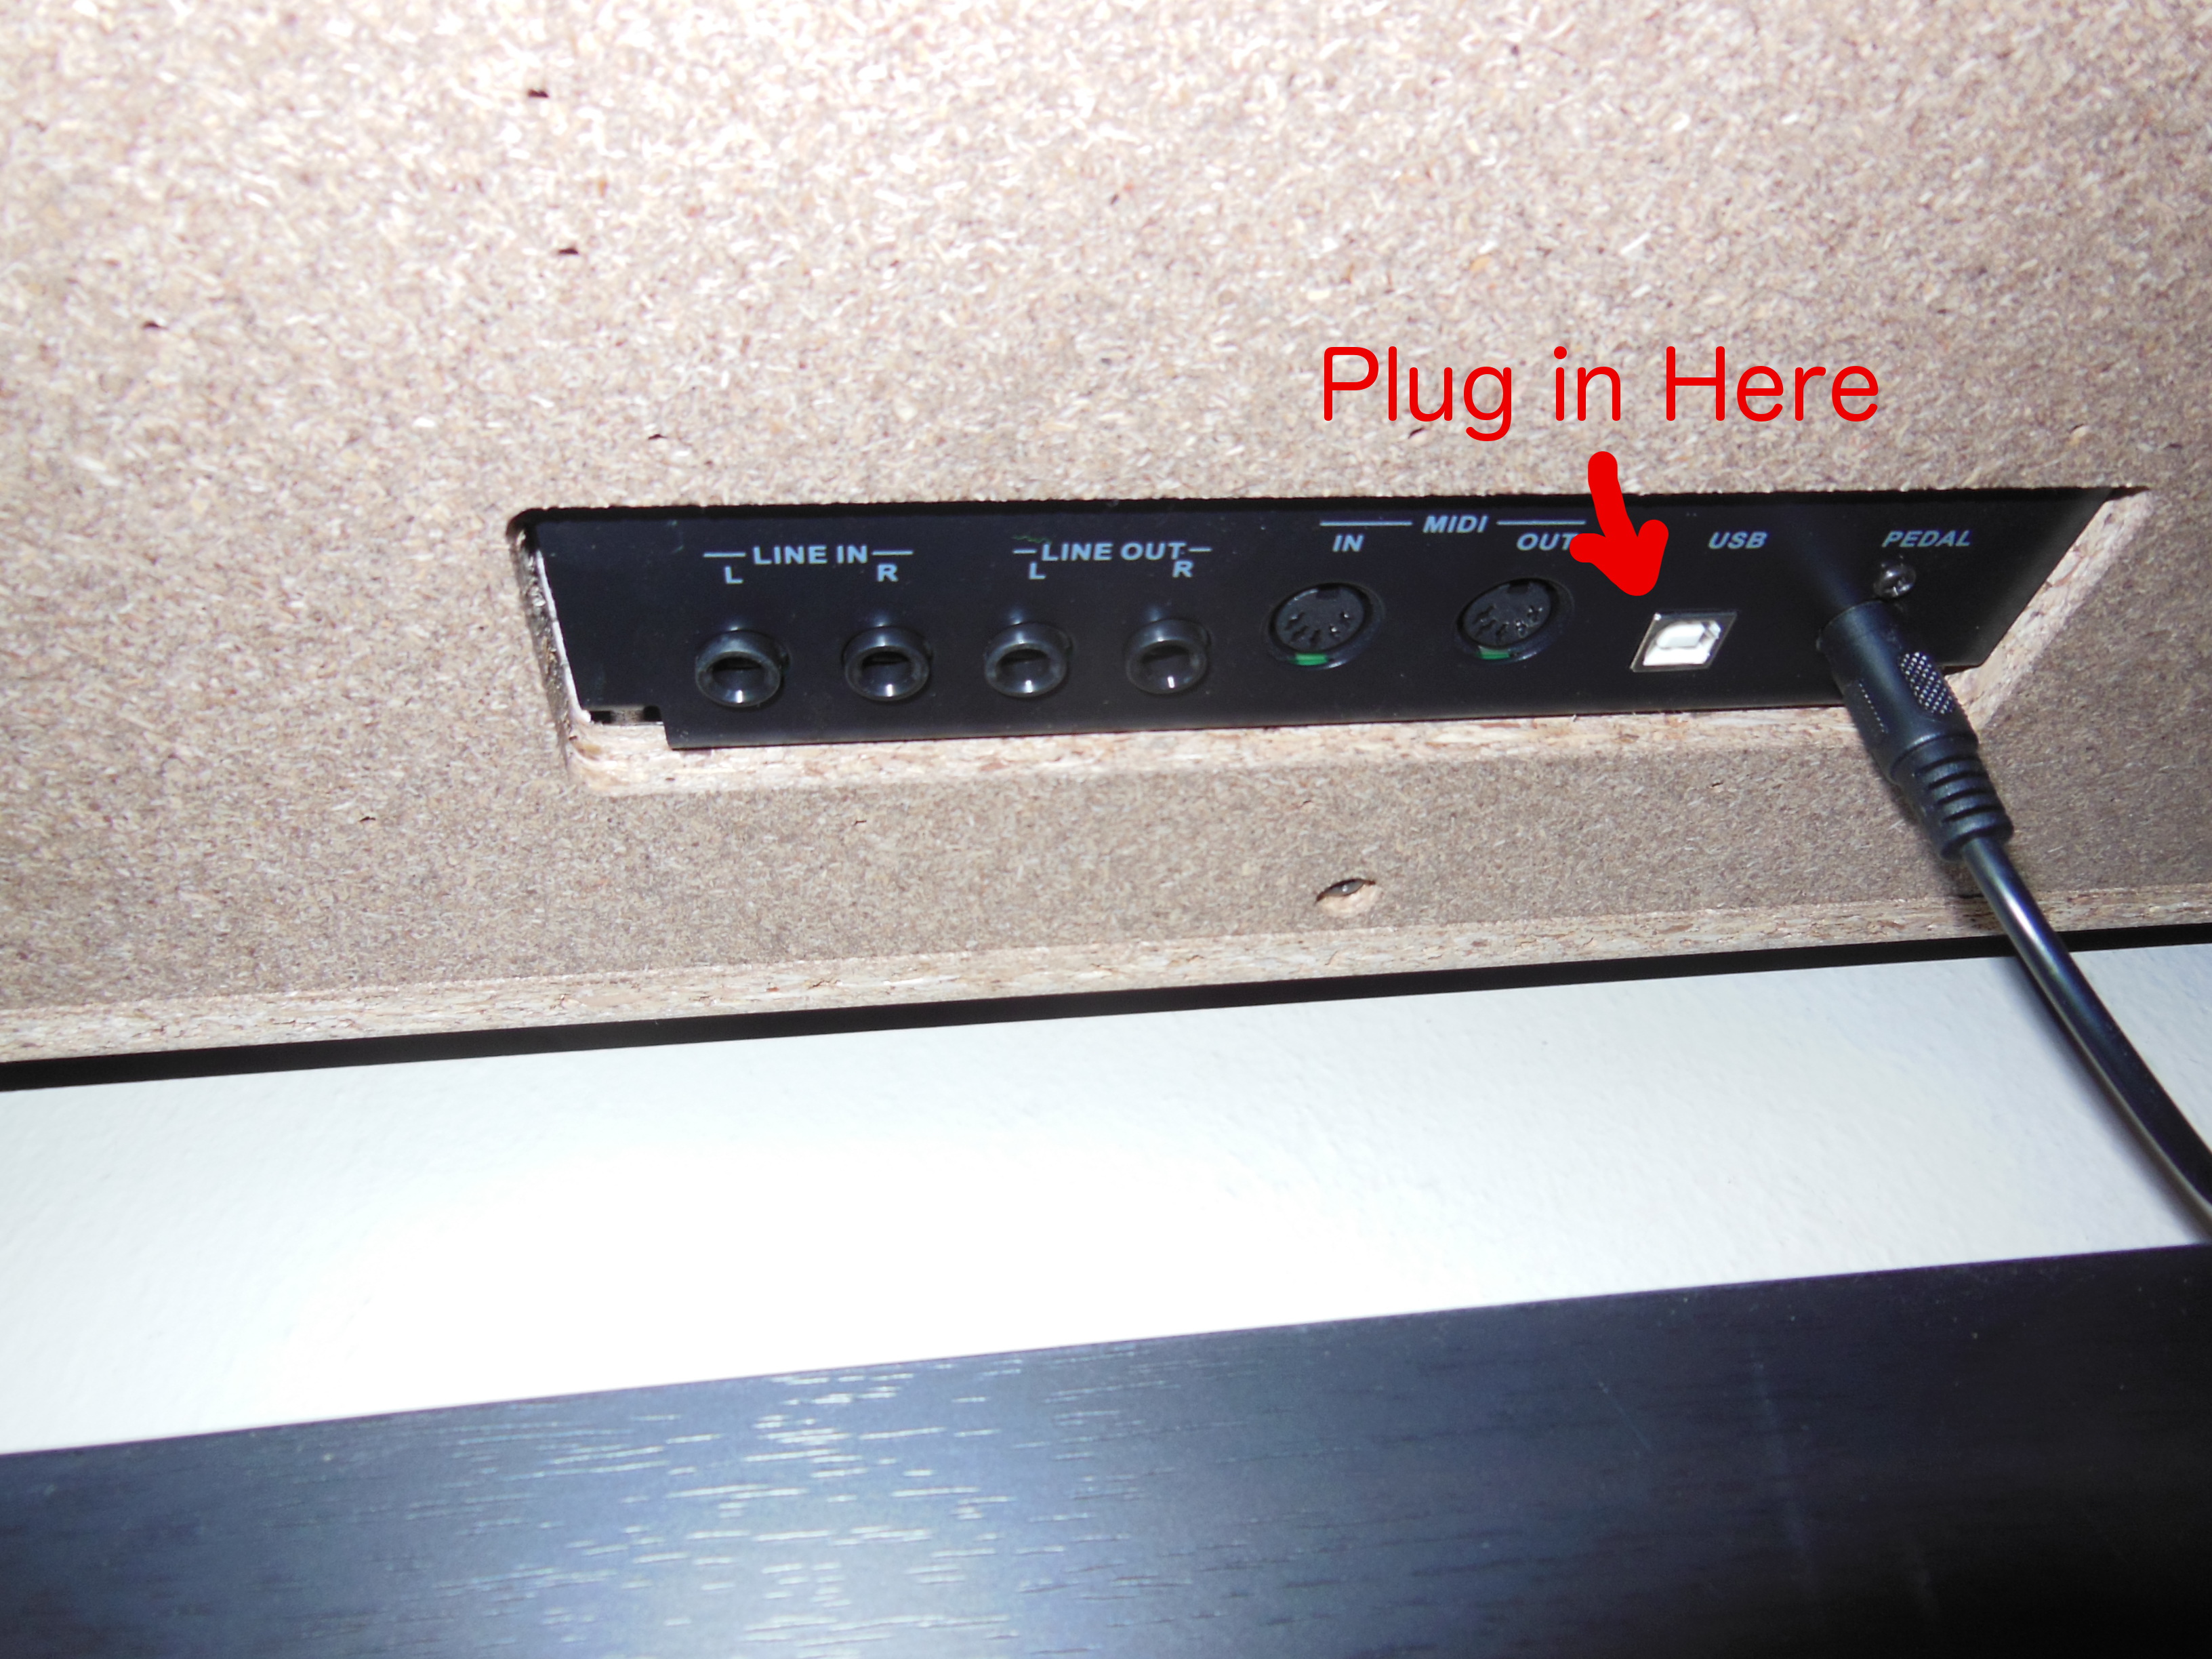
1. Connect the piano to the computer with a MIDI to USB chord. The plug could be in several places on your piano, mine is underneath the piano towards the back. This should look something like this:
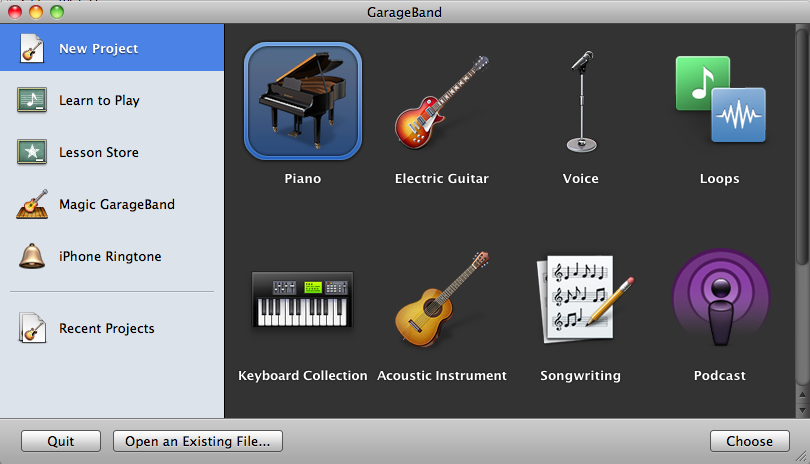
2. Open GarageBand, select “New Project” and choose piano for the instrument.
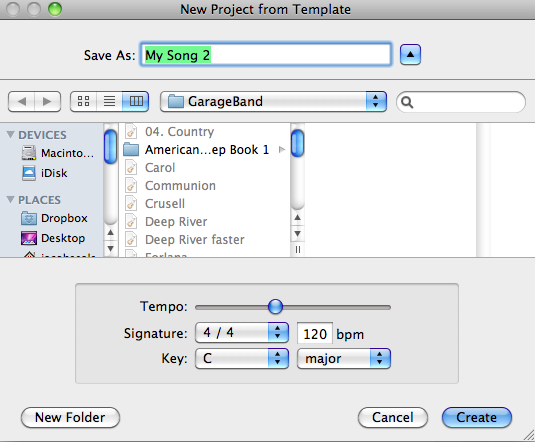
3. Type in the name of the song, choose where you want to save it on your computer, and select the tempo, meter, and key signature of the piece.
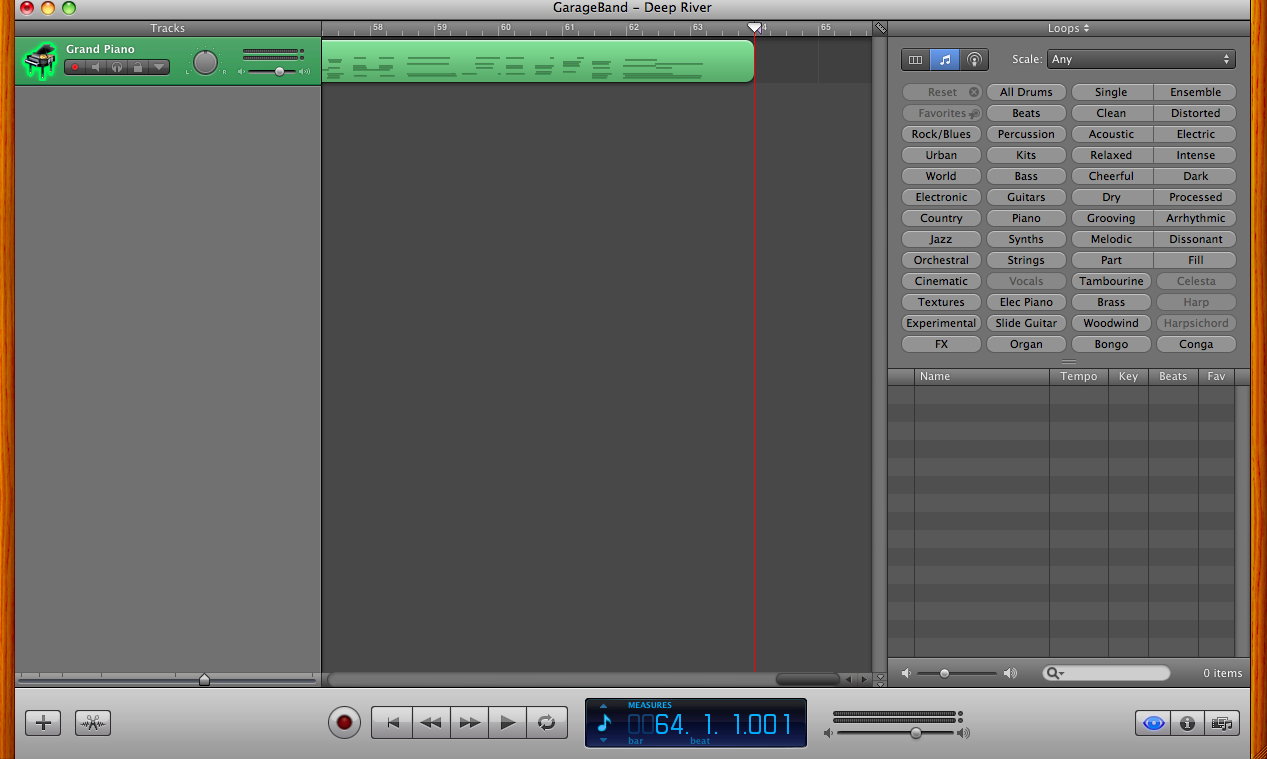
4. When you are ready to record, hit the red record button, play your song, and then hit the red record button to stop recording. You can also hit the space bar on your computer to stop the recording. You should be able to see a visualization of what you have recorded that looks something like this:
5. You can now listen to your recording and see what you think. If you are happy with it, go to File -> Save to save your GarageBand recording. To export your recording to iTunes go to Share -> Send Song to iTunes. ITunes should automatically open once the export is complete. From iTunes you can then burn the song to a disc to share with your students, or email the file if that’s easier.
Changing the tempo of the song: I found it really useful to be able to change the tempo when I was recording some accompaniments for a local clarinet teacher. I recorded at a slower tempo and then hit a few buttons to speed it up. I save both speeds and sent them to the teacher so she could use whichever one she preferred. To change the speed of your recording go to Track -> Show Master Track. This little bar should show up at the bottom:
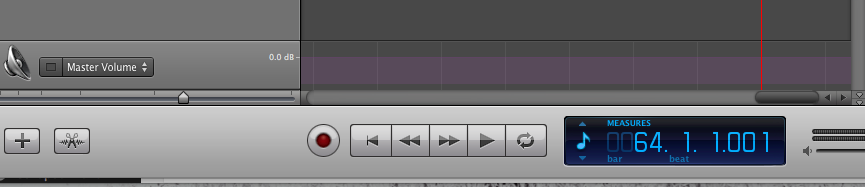
Click on the little arrows next to Master Volume and change it to Master Tempo. You can then grab the little purple dot at the beginning of the line and move it up or down to adjust the tempo.

After adjusting the tempo, save your file again under a new name to keep a file for each tempo.
I hope this helps you get started with your digital piano! Let me know if you run across any problems and I will see if I can help you.
Author: Spring
Spring Seals, NCTM, teaches 60 piano students ranging from age 3 to 70 in Fort Worth, Texas. She also serves as the Director of Certification for TMTA. She is passionate about helping teachers become more effective in their studios through professional development, new resources, and fresh ideas.